Build your Prototype
Step 1: Select Sensors, Actuators and Insight tools
Start with basic structure of Shunya Interfaces, and keep adding the API's to this structure.
- C/CPP
/*Include this header file into your program */#include <shunyaInterfaces.h>
/* Main Function */int main(void) { /* initialize the Library*/ initLib(); return 0;}Choose Sensors (Gather data)
- Voltage
- Distance
- Light Intensity
- Current
- Liquid Flow
- Gas (coming soon)
- Pressure (coming soon)
- Humidity (coming soon)
- Motion (coming soon)
- Temperature (coming soon)
Choose Insight tools
- Send Data to Cloud (AWS)
- Send Data to Dashboard (coming soon)
Choose to send Alerts
- Send Alerts via Mail (coming soon)
- Send Alerts via Messages (coming soon)
- Send Alerts via WhatsApp messages (coming soon)
Choose Actuators (Hardware Actions)
Step 2: Connect peripherals & Configure Shunya Interfaces
Choose a dev Board
Shunya Interfaces supports these development boards, you can choose any one of them to work with.
- RockPi-S-V10
- Raspberry Pi 4
- Raspberry Pi 3
- OrangePi 2G IOT
Connect peripherals
Connect all your hardware peripherals to the board.
To help you with the connections use the links in the excel to easily find pinouts for the development boards.
Configure Shunya Interfaces
Tell Shunya Interfaces what peripheral you have connected and where it is connected.
Copy the template into your projects folder.
Fill the templates with the sensor IDs against the pin that you have connected the sensor. The config file follows the YAML format.
Example YAML file snippet :
pin 1: null # null for no connections on the pin pin 2: null pin 3: 1.1 # Sensor ID for BME280 is 1 while the pin is SDA hence the .1pin 4: null pin 5: 1.2 # Sensor ID for BME280 is 1 while the pin is SCL hence the .2pin 6: nullStep 3: Install Shunya OS
What will you need.
- Shunya OS Supported board
- microSD card reader/adapter
- microSD card
- Laptop/PC
Step 3.1 : Install Etcher
- Windows
- Ubuntu
For Ubuntu 16.04
- Run this command in the Terminal
$ sudo apt update$ sudo apt install balena-etcher-electronStep 3.2 : Flash Shunya OS
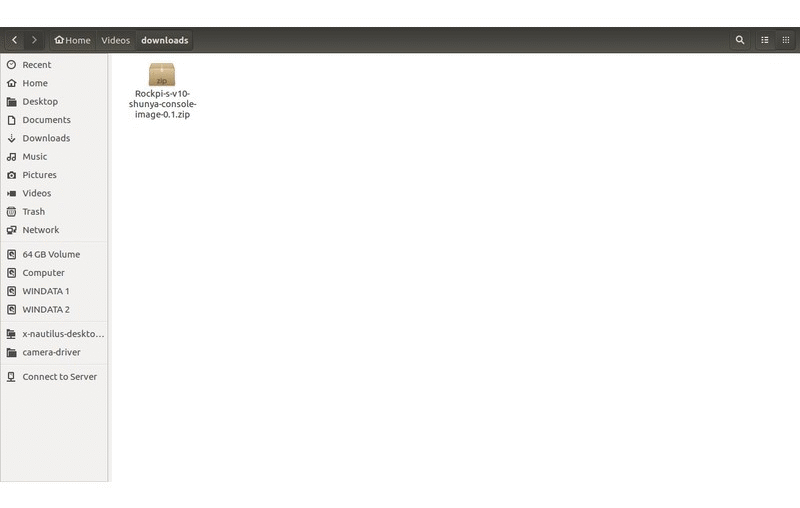
- Download Shunya OS
- Right click on the downloaded zip file.
- Click Extract here.
- Open Etcher.
- Click Select Image.
- You will find the Shunya OS
.imgfile in the folder that we had extracted earlier. - Select
shunya-aaaa-image-xxxx.imgfile. - Insert SD card.
- Click on Flash.
This will start loading the SD-card with Shunya OS.
Step 3.3 : Booting Up with Shunya OS
- Insert the SD card into the board.
- Connect Keyboard and Mouse.
- Connect Monitor (if available).
- Connect Power Supply.
The board should boot up with Shunya OS.
Login
Login with these credentials:
- Username : shunya
- Password : shunya
Step 4: Run your program
Compile code and Run the program.
- C/CPP
$ gcc -o myapp program.c -lshunyaInterfaces_user -lshunyaInterfaces_core$ sudo ./myapp