Build your first AI Face Application
Whether you are a Startup, Maker or a hobbyist you can use our API's to build AI Face products on Embedded Devices.
So Lets start to build an AI application which counts number if faces in image.
Step 1: Install Shunya OS
Shunya Face is built on top of Shunya OS and comes pre-installed with Shunya Face. Shunya OS is an linux-based OS that runs on your hardware, it light-weight and configurable.
What will you need.
- Chosen board and its peripherals
- microSD card Reader/Adapter and microSD card
- Laptop/PC
- A USB Camera
Install Etcher
Etcher allows you to Flash Shunya OS on the micro-SD card.
- Windows
- Ubuntu
For Ubuntu 16.04
Installing Etcher is Simple, just run few commands in the terminal
Flash Shunya OS
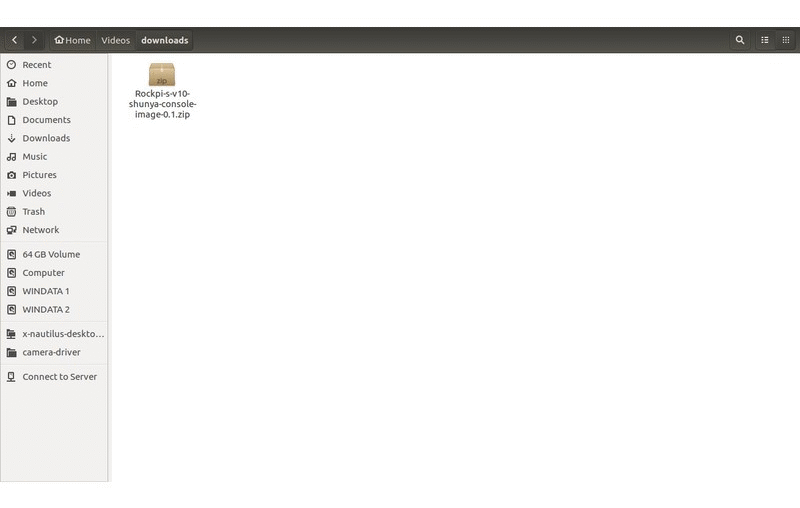
- Download Shunya OS
- Right click on the downloaded zip file.
- Click Extract here.
- Open Etcher.
- Click Select Image.
- You will find the Shunya OS
.imgfile in the folder that we had extracted earlier. - Select
shunya-aaaa-image-xxxx.imgfile. - Insert SD card.
- Click on Flash.
This will load the micro-SD card with Shunya OS.
Booting Up with Shunya OS
- Insert the micro-SD card into the board.
- Connect peripherals like Keyboard, Mouse, HDMI monitor and USB Camera.
- Connect Power Supply.
The board should boot up with Shunya OS.
Login to Shunya
Login with these credentials:
- Username : shunya
- Password : shunya
Step 2: Write a program
Lets go through these APIs to understand which APIs are needed to make this application.
Refer following code to understand it better.
- CPP
Step 3: Run your program
Compile and Run
Compiling code is same as compiling C++ program with CMake file. CMake file is provided by us. You just need to make small changes in it to make it run. Lets look at current demo.
We just need to specify the cpp file path in CMake (5th line) and done.
Compile the program. Run following commands where CMakeLists.txt file is
This will build the program and make it into a binary executable.
Now Lets run it.
Yaayy !! You have successfully build your first AI application. Lets see what more we can do with these ShunyaFace APIs :)
Build such more application with ShunyaFace APIs. Check below.